For those of you who are familiar
Annie Sloan Chalk Paint , you know that this paint is AMAZING!
Did you know that Annie Sloan Chalk Paint has many applications beyond wood. Among all the amazing pieces of wood that I have had the privilege to paint for either myself or a customer, I have also used Annie Sloan Paint on canvas, metal, fabric, walls and now tiling.
The paint is an easy to use paint however a little care must be taken when applying on other surfaces beyond woodscapes. I will demonstrate some techniques and additional products that I used to refinish the tiling around our lakehome fireplace.
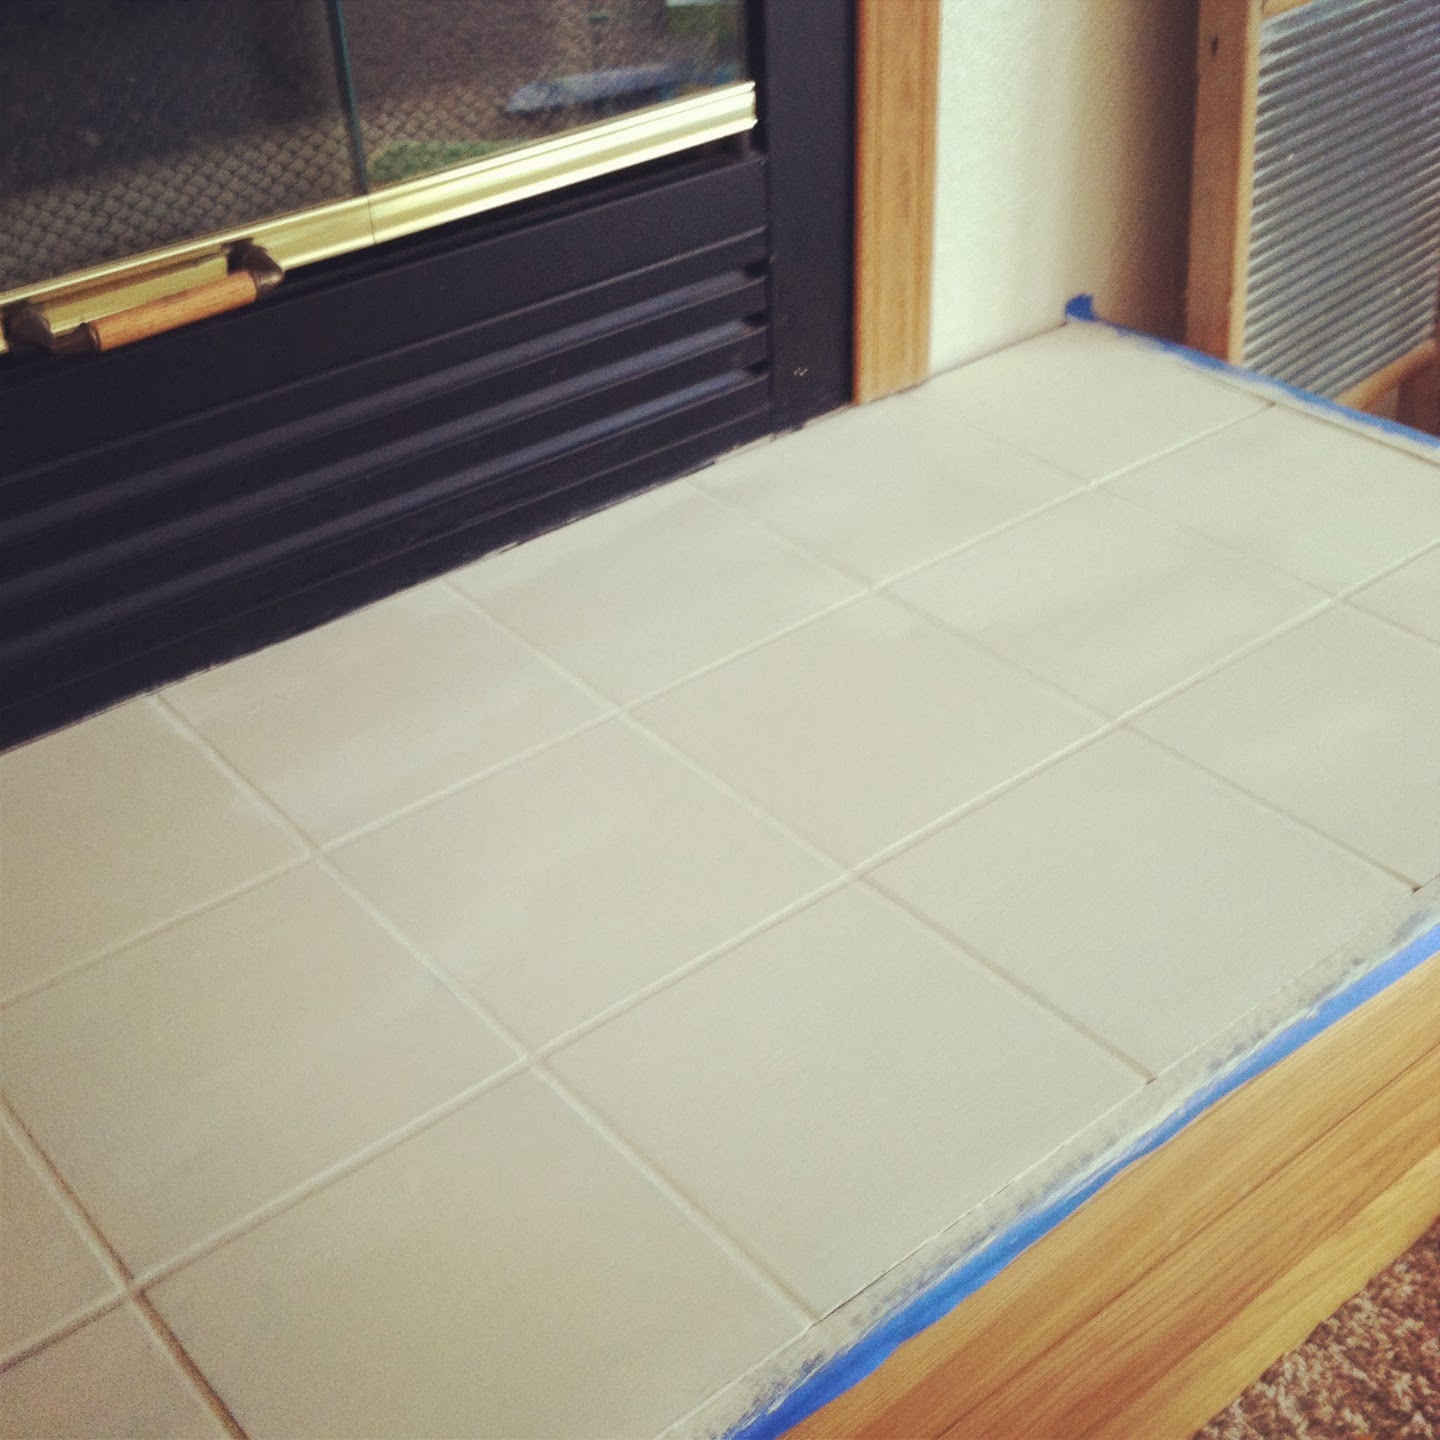
Here is the original fireplace tile. The tiles on the bench are ceramic, red and brown 4"x 4" squares. The grout seems to be a gray color.
First Step towards transforming tile color with Annie Sloan Chalk Paint is
1. Tape your edges with Blue Painters Tape.
2. Begin Painting your first coat of Annie Sloan Chalk Paint (Pictured Old Ochre) I went with the grain (Horizontal). In addition, take one section at a time. I highly recommend not going over the same spot more than twice. The paint is drying while you are painting and it will gunk up (Sorry ... only word that I use when this happens). I usually took one tile at a time and made sure that I worked the paint into the grout lines. Use a Annie Sloan paint brush. Especially when working the paint into the grout.
3. After the paint dries (touch and look to see if the paint is still wet). Sand in between coats.
4. There are many different techniques you can do to give the tile a distressed worn look. I wanted to pull out some of the deeper colors and black undertones of the wood by dry brushing (Annie Sloan Graphite) over the top of the sanded 2nd Coat of Old Ochre.
(Note: Apply very sparingly if you want a very subtle undertone. I dip very little paint on the tip of the brush and blot on a paper plate before applying the paint. Flatten the brush and do very long strokes to give a dry brushed effect. Less is more if subtlety is what you are going for.)
5. After to dry. Then apply a thin top coat of Old Ochre Paint.
Make sure all paint is perfectly blended in the grout lines as well on the tile.
Any excess needs to be sanded back.
6. Sand very lightly on edges and across tile to pull out black undertones. In addition add some distress around cross sections and edges.
When you distress to your satisfaction. Begin the process of applying the Clear Topcoat. I like the Artisan Enhancement Product line. Please use it very sparingly otherwise it will take a few hours to dry. Any tackiness is an indication that it is still drying. Applying sparingly will give you the same effect as slopping it on.
In addition, the clear topcoat will have a milky look when applying it. However, it will dry clear.
I used a very small amount on the top of the can. In addition, I also used a topcoat brush to apply the paint. I tend to not mix applications with the same brush. It is meant to do one job and that is what I use it for.
7. Once the topcoat has dried. You can either apply a thin clear wax coat. I, however, was satisfied with a very thin coat of wax and finished the project by buffing the wax into the tile.
I love Annie's buffing brush. It is amazing and very easy to take care of. As long as you make sure wax or topcoat does not get stuck on the brush... it should last a very long time.
Once buffed to your satisfaction.
Your tile should be transformed and complete.
Here are the before and after pics! I am so thrilled with the turn out and how easy it was to do. My tile was transformed in a matter of hours.


 Wrap the brown tape over the white tape leaving a gap between each wrap.